Install Vivara Broadcast
Download the Windows installer and run it. Create your account when the app opens and start the subscription — everything in the app unlocks at once, and any operators you add to your account get access too. Vivara keeps itself up to date in the background.
↓ Download for WindowsPrepare teams and players
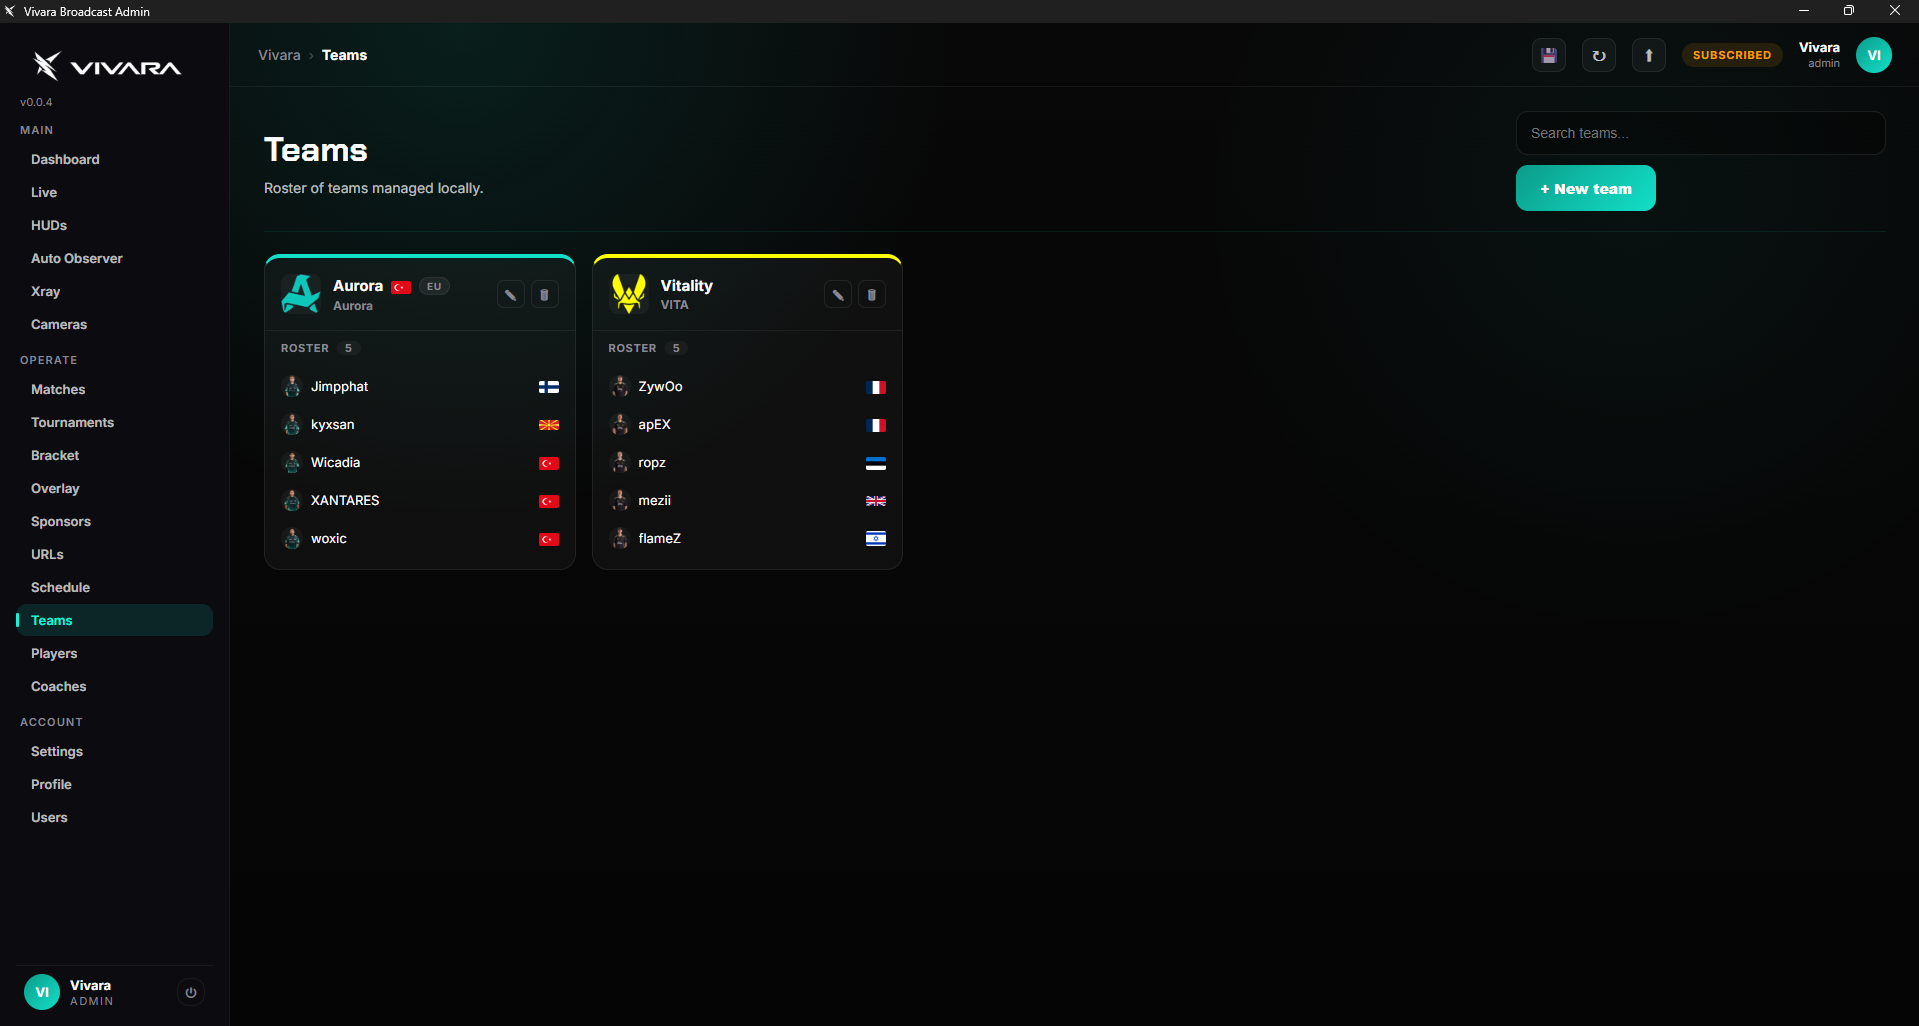
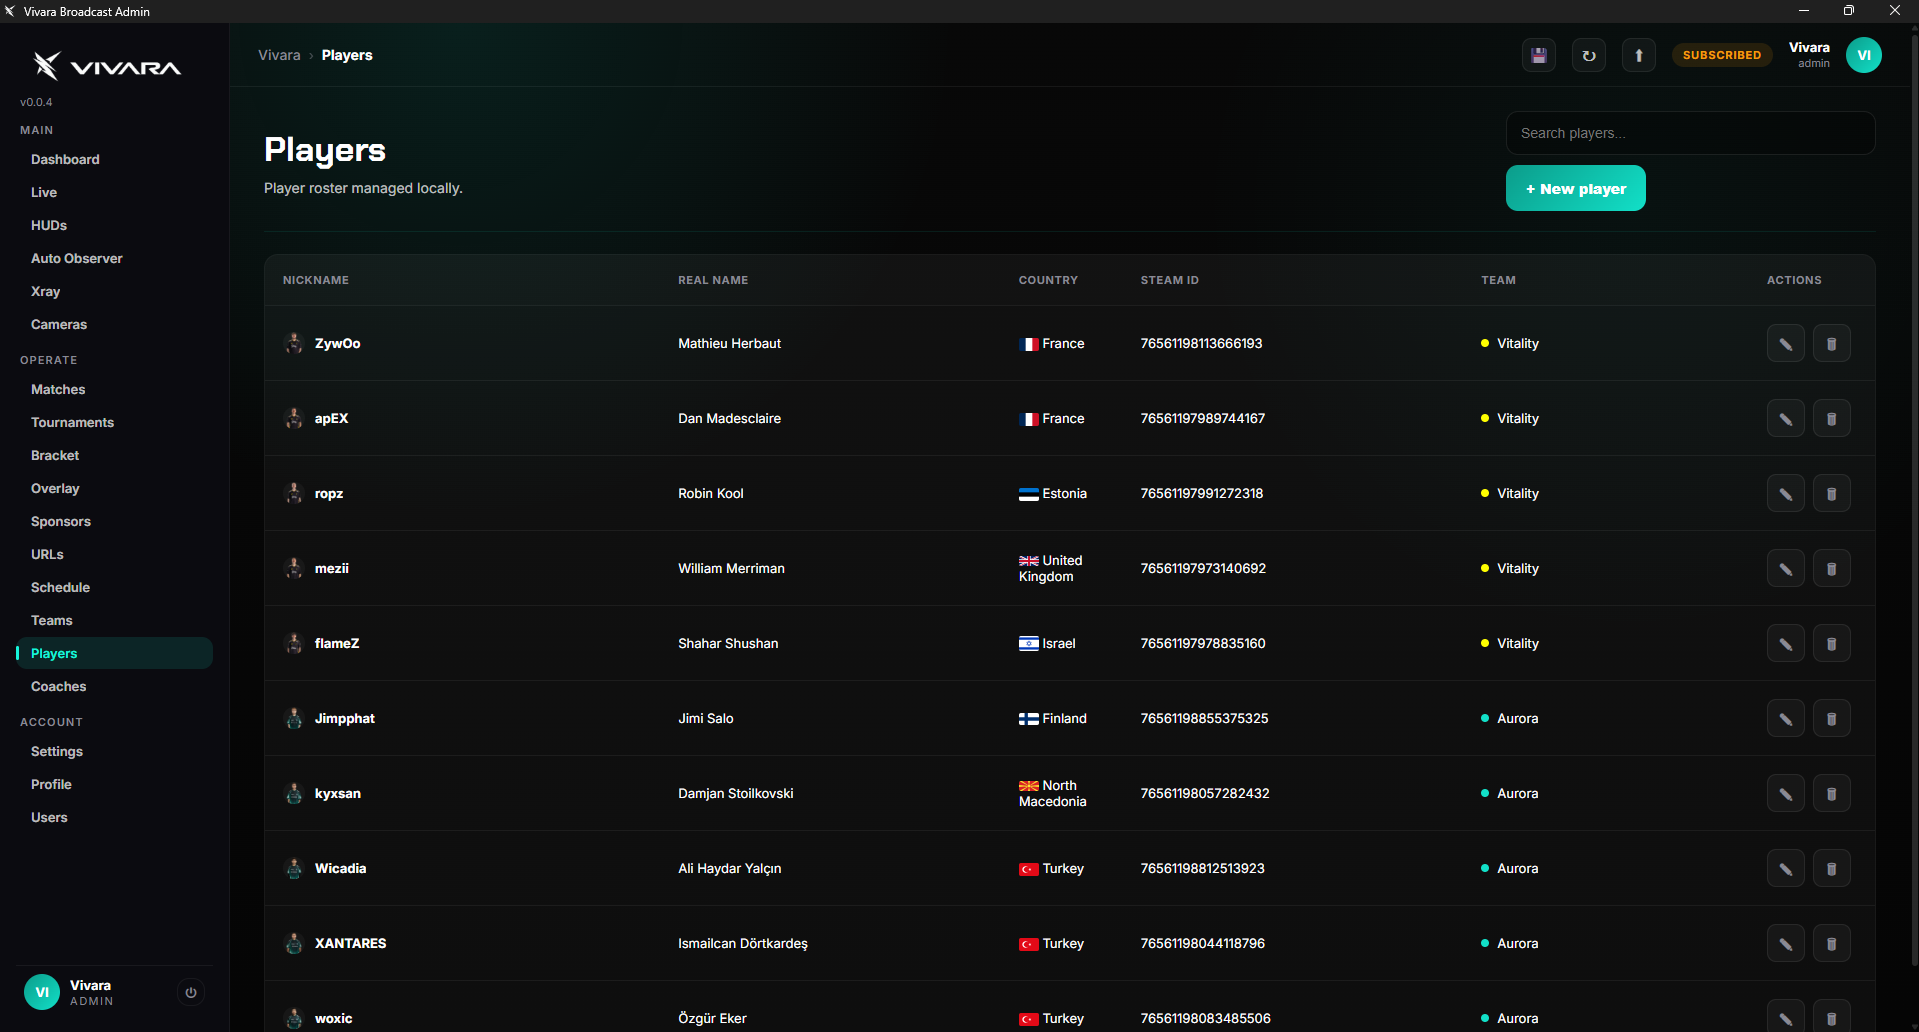
Add the teams you expect to use with logo, tag and color, then add their players with nickname, real name, country, photo and Steam ID. If a team is international, tag it with a region instead of a single country.
Add the tournament
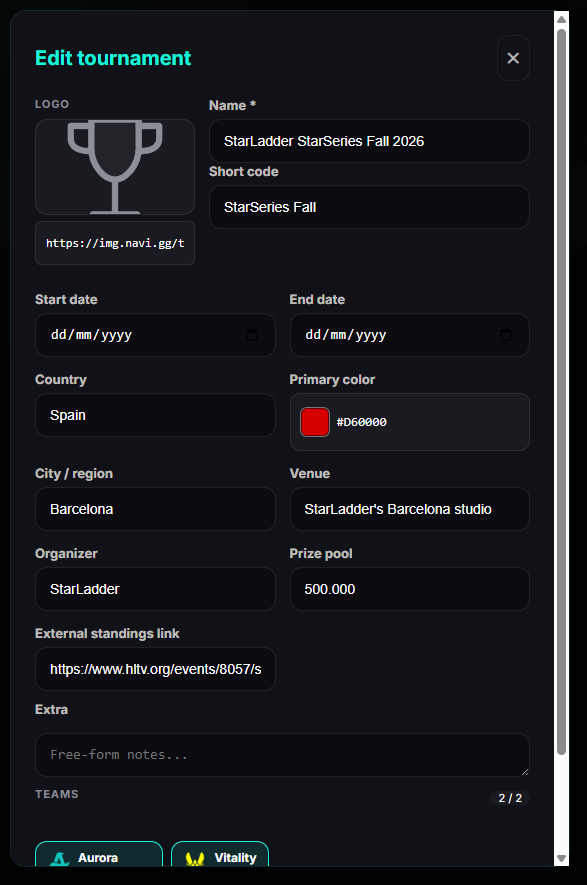
Create the tournament with its name, logo, dates, venue and teams. The name is shown above the map strip in the HUD and on the overlay.
Create the match
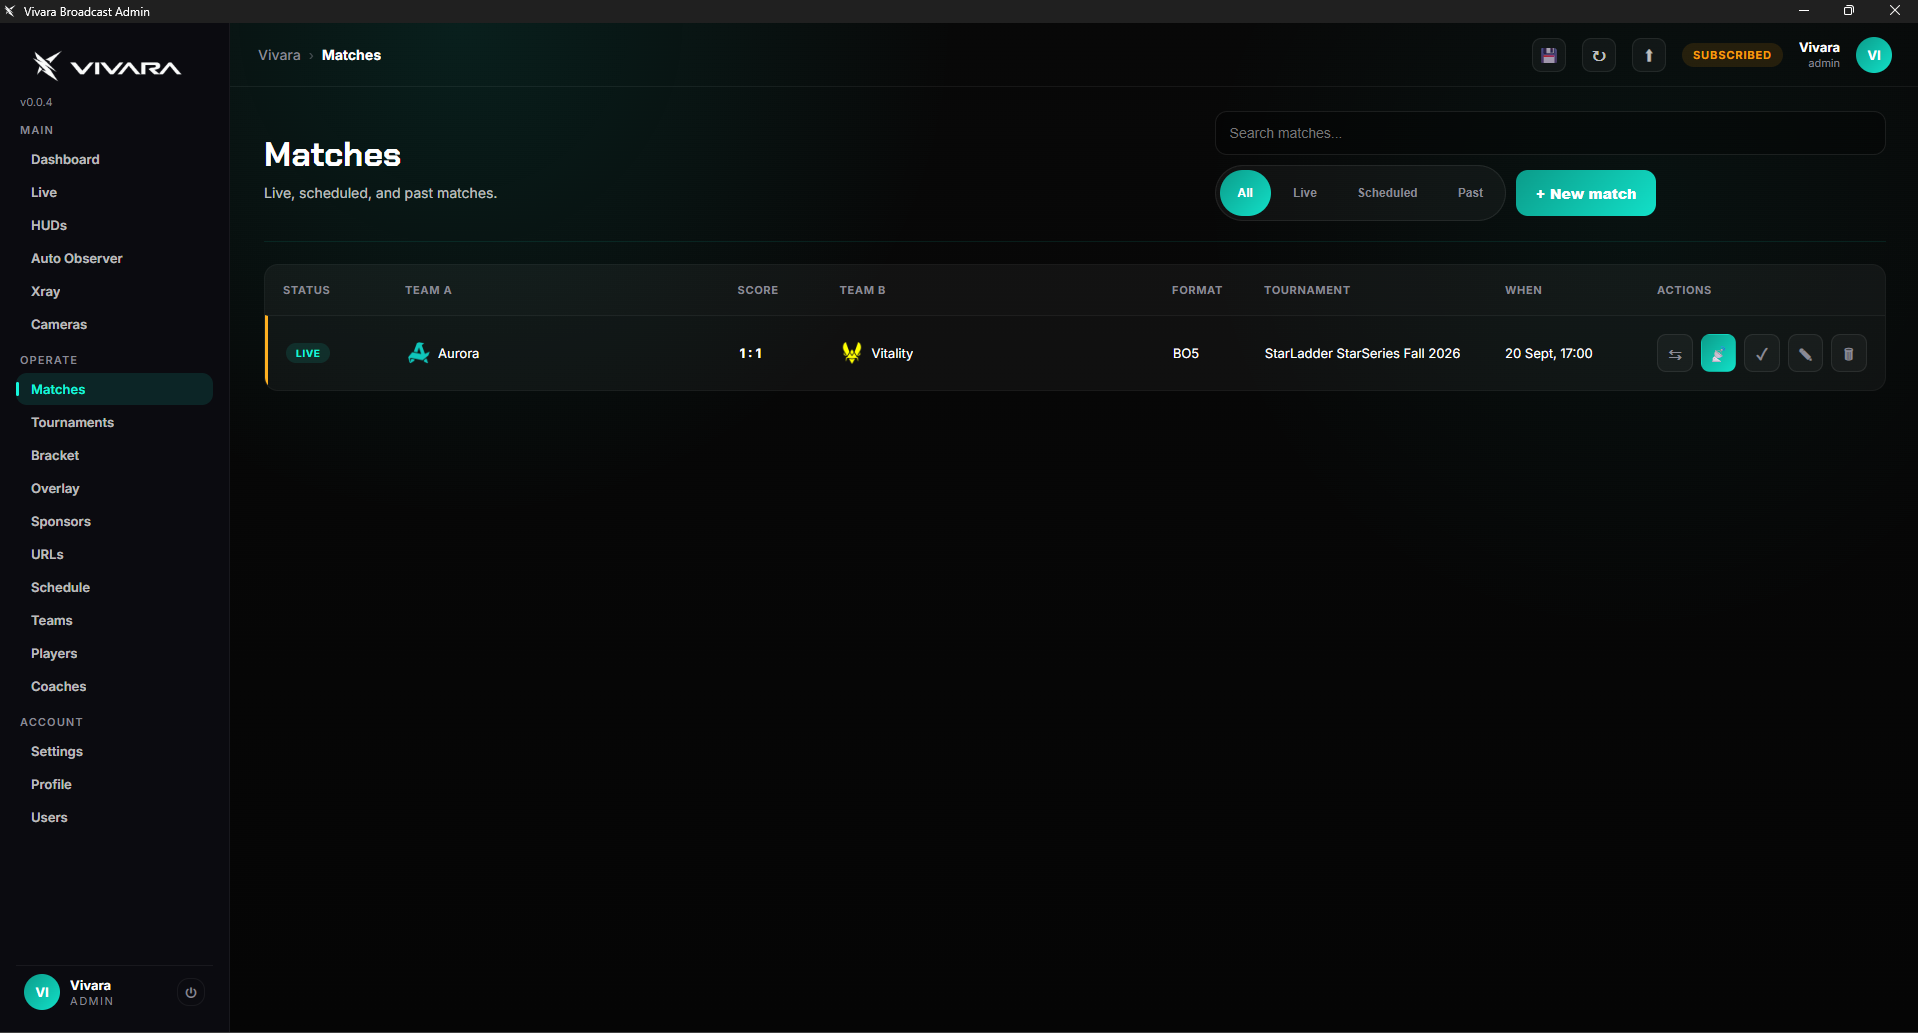
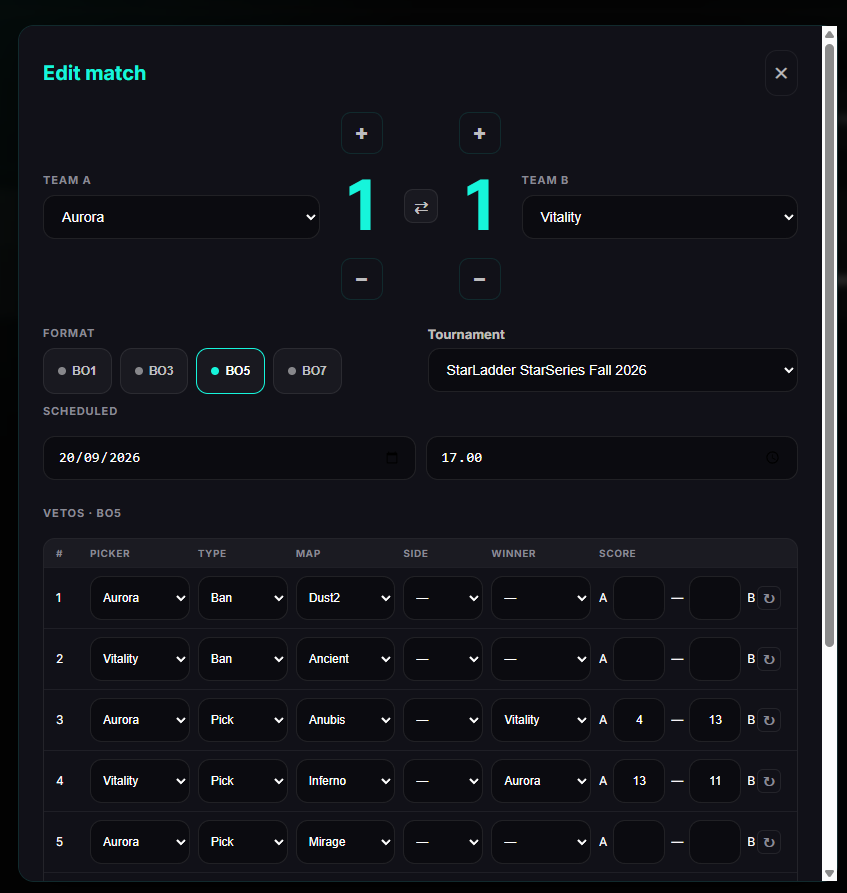
Open Matches, click New match and choose the teams, format (BO1 to BO7), tournament and start time. Fill in the veto as it happens — picker, map, side, winner and map score — and use the plus and minus buttons for the series score. When you are ready, set the match live.
Connect CS2
Open Settings. Vivara finds Steam and CS2 automatically. Click Install next to the GSI cfg and the script cfg, and click Install our recommended observer cfg. Then start the game from the Dashboard with Launch.
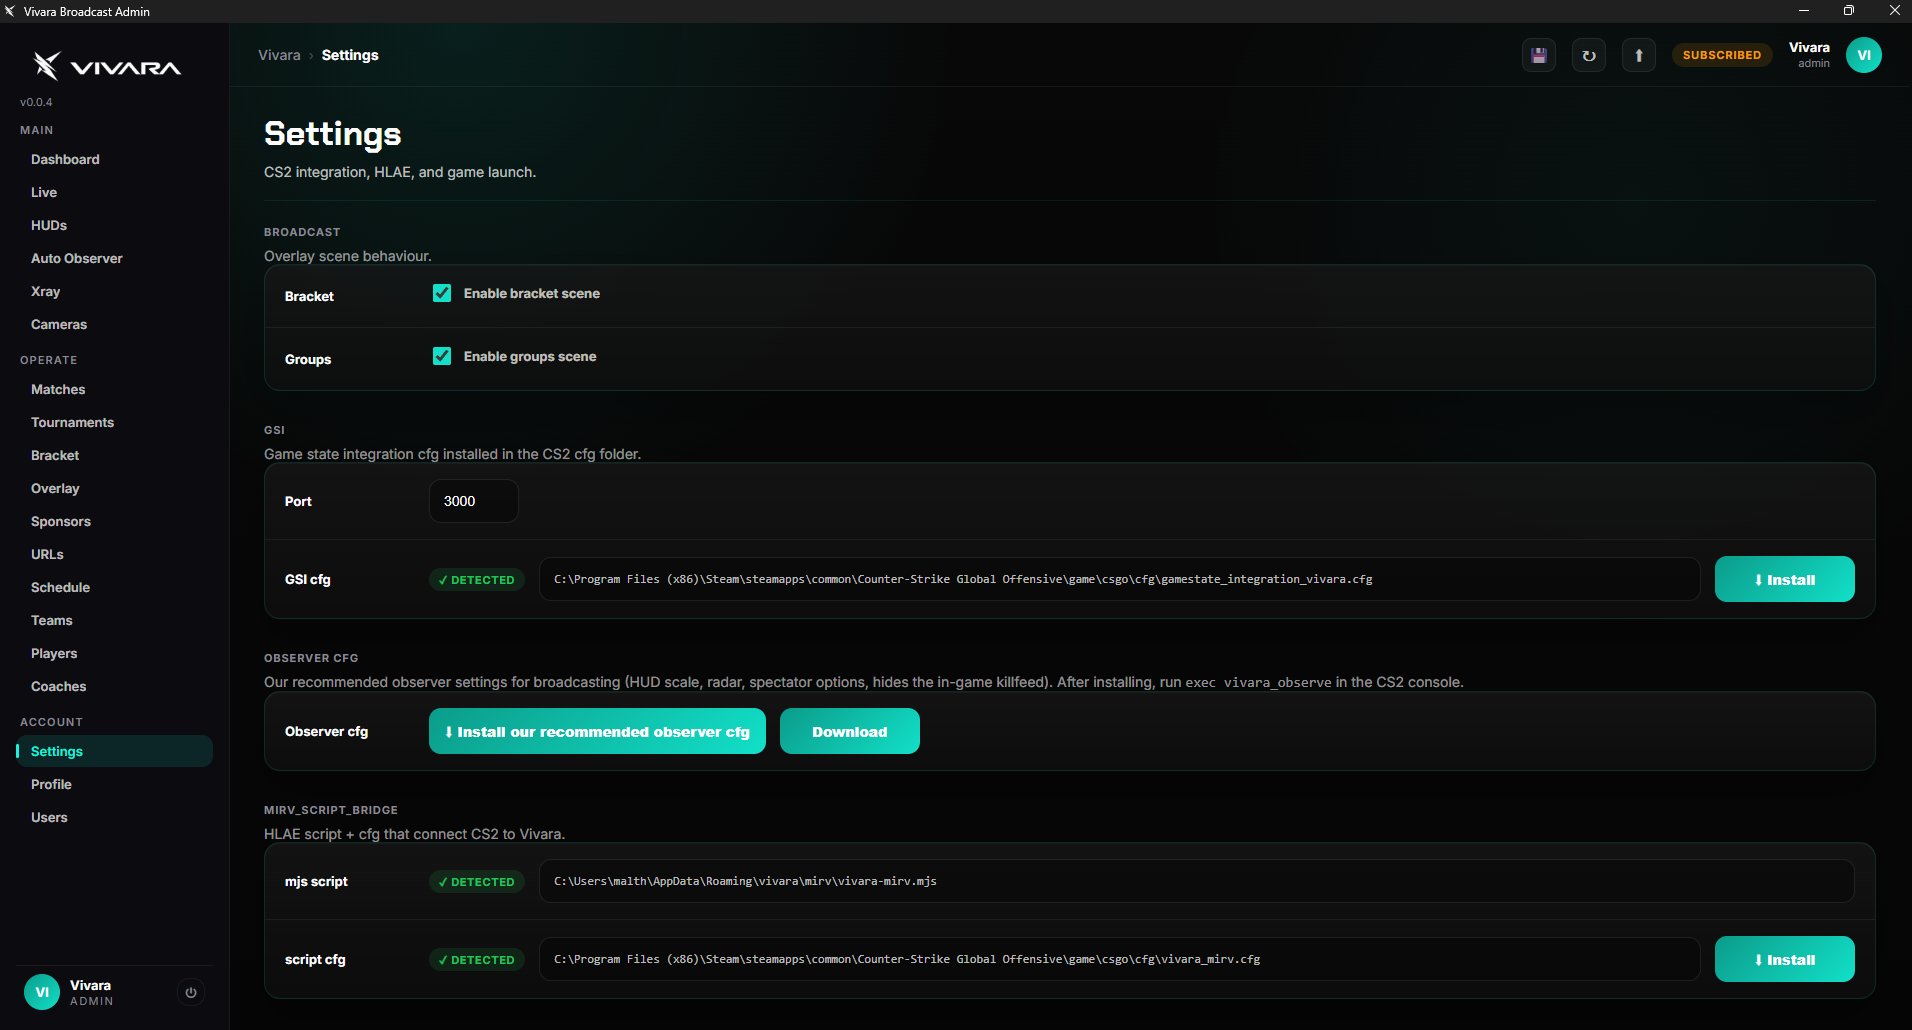
exec vivara_observe in the CS2 console once to apply the observer settings. The Live page shows Receiving as soon as data arrives.Choose your HUD
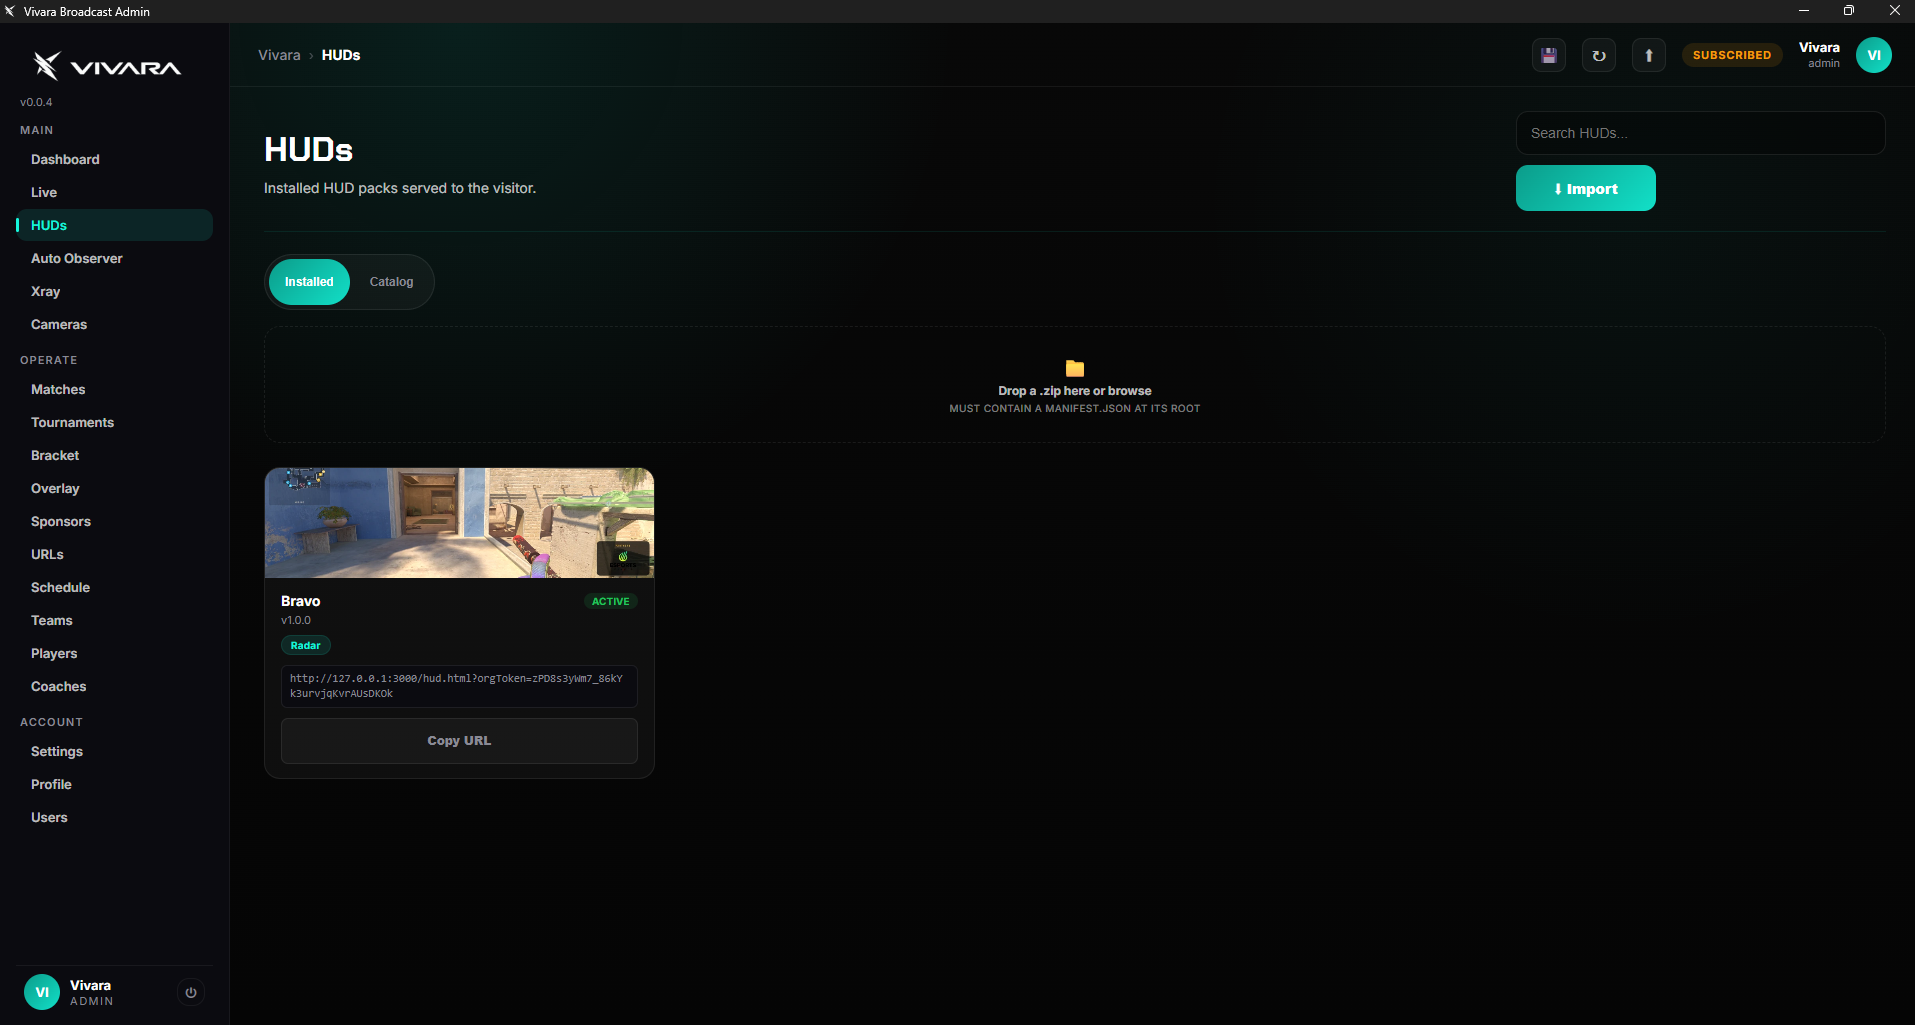
Bravo is installed and active by default. You can import other HUD packs as .zip files on the HUDs page and switch between them at any time.
Set your colors
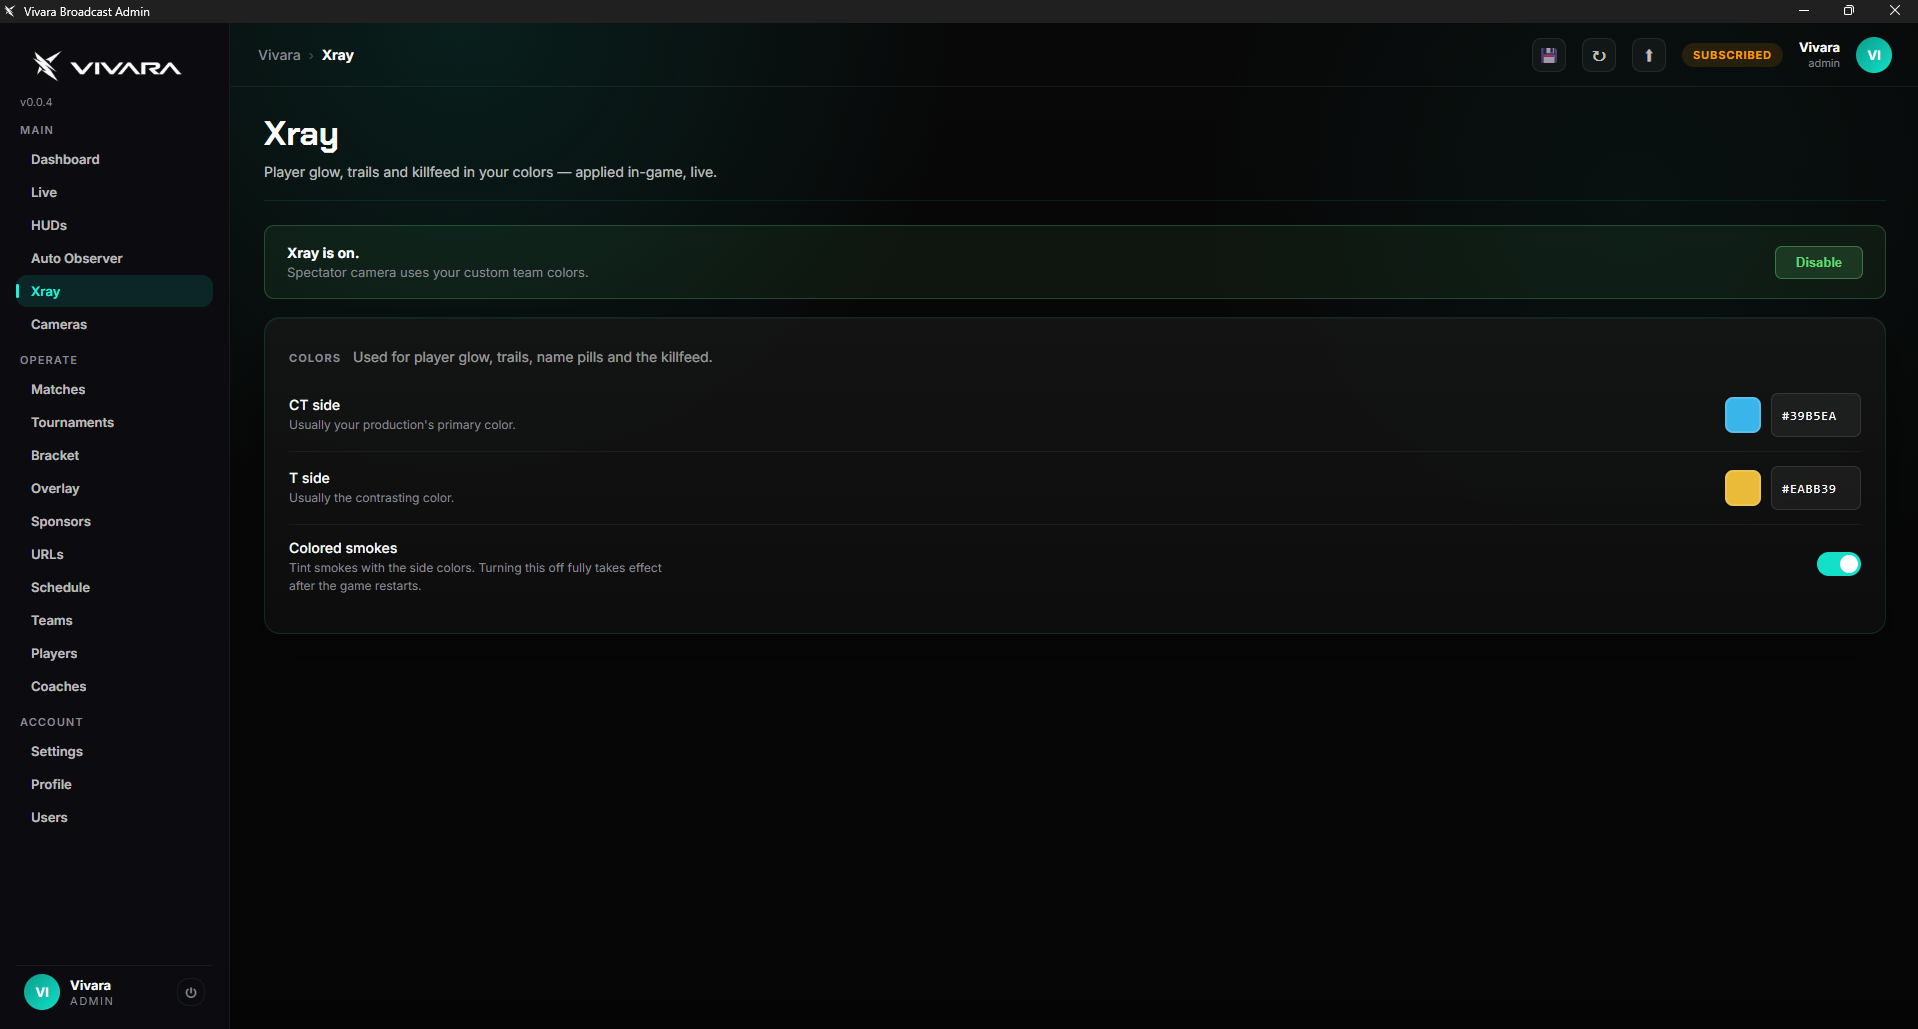
Under X-Ray, choose one color for the CT side and one for the T side. They are used for player glow, trails, name pills and the killfeed in-game, and by Bravo for player cards and the radar. Team colors from Teams are used on the scoreboard and logos.
Add it to OBS
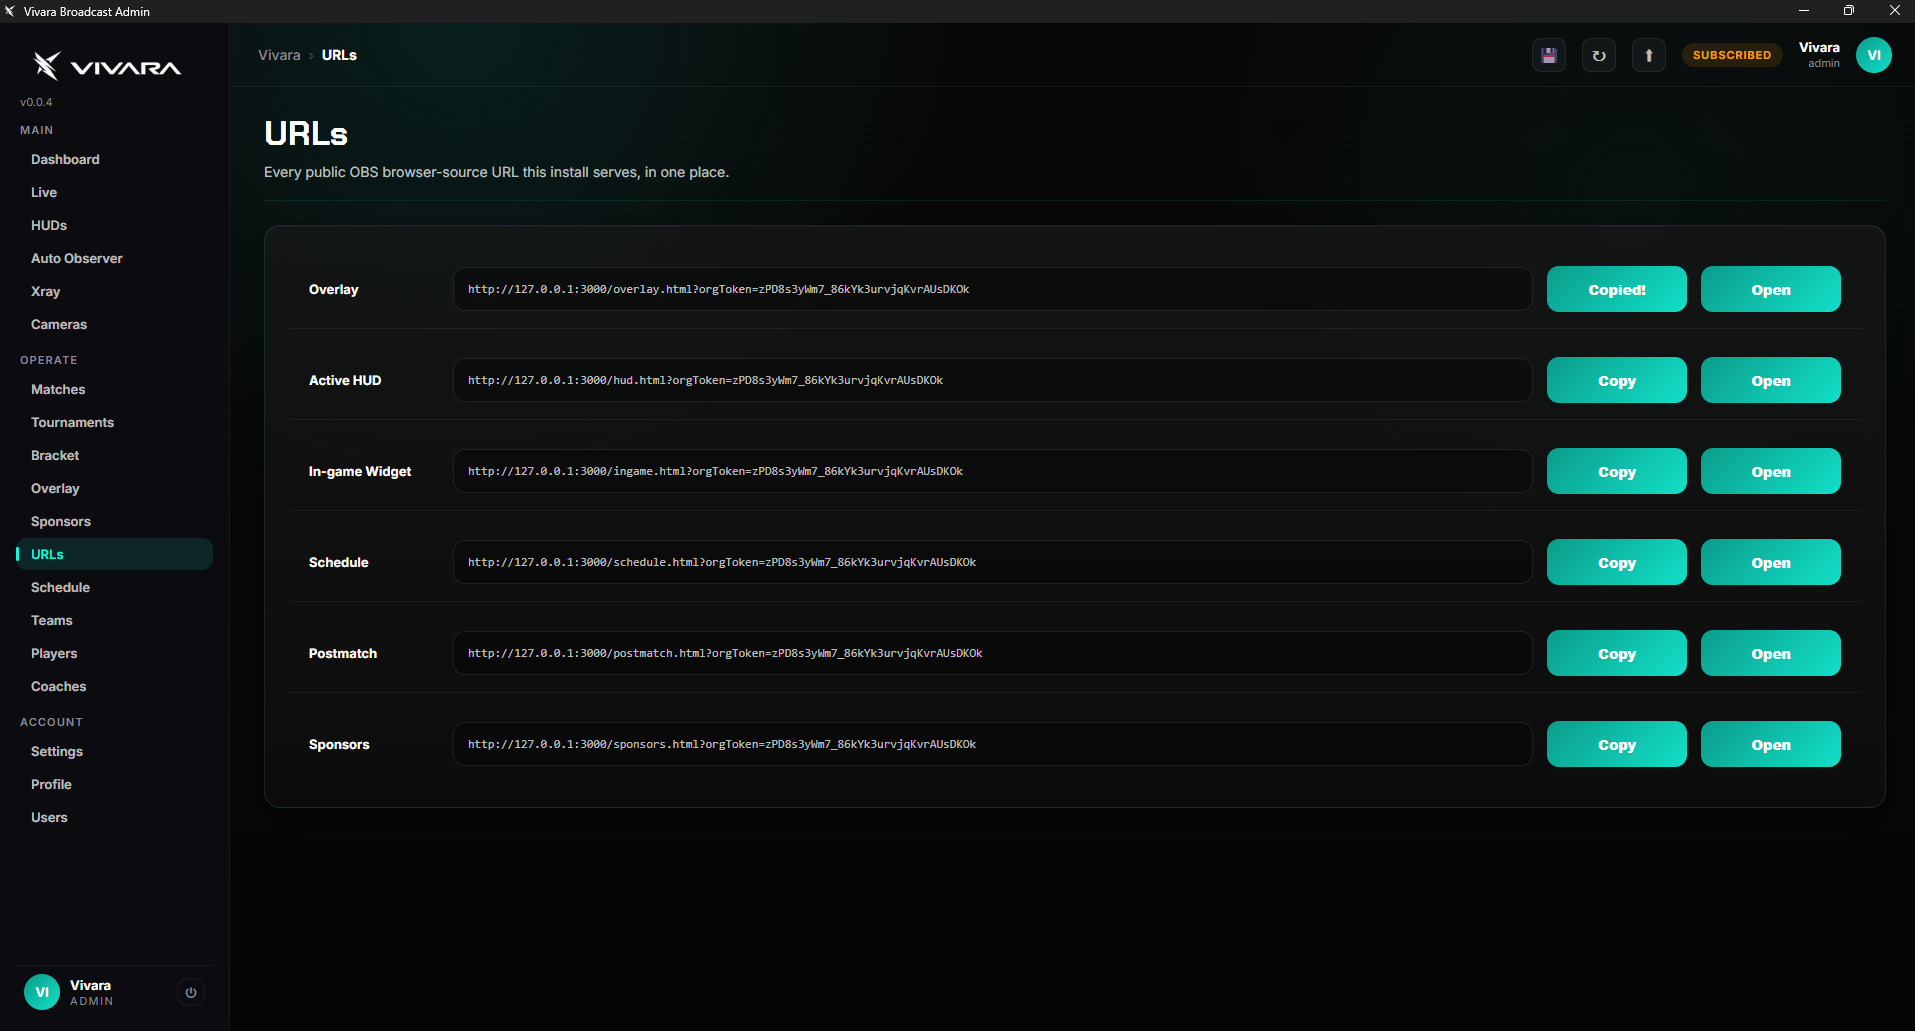
Open URLs, click Copy next to the scene you want and add it in OBS as a Browser Source at 1920 × 1080. Use Active HUD for the in-game HUD and Overlay for the matchup, lineup, bracket and other scenes.
Assign teams on the Live page
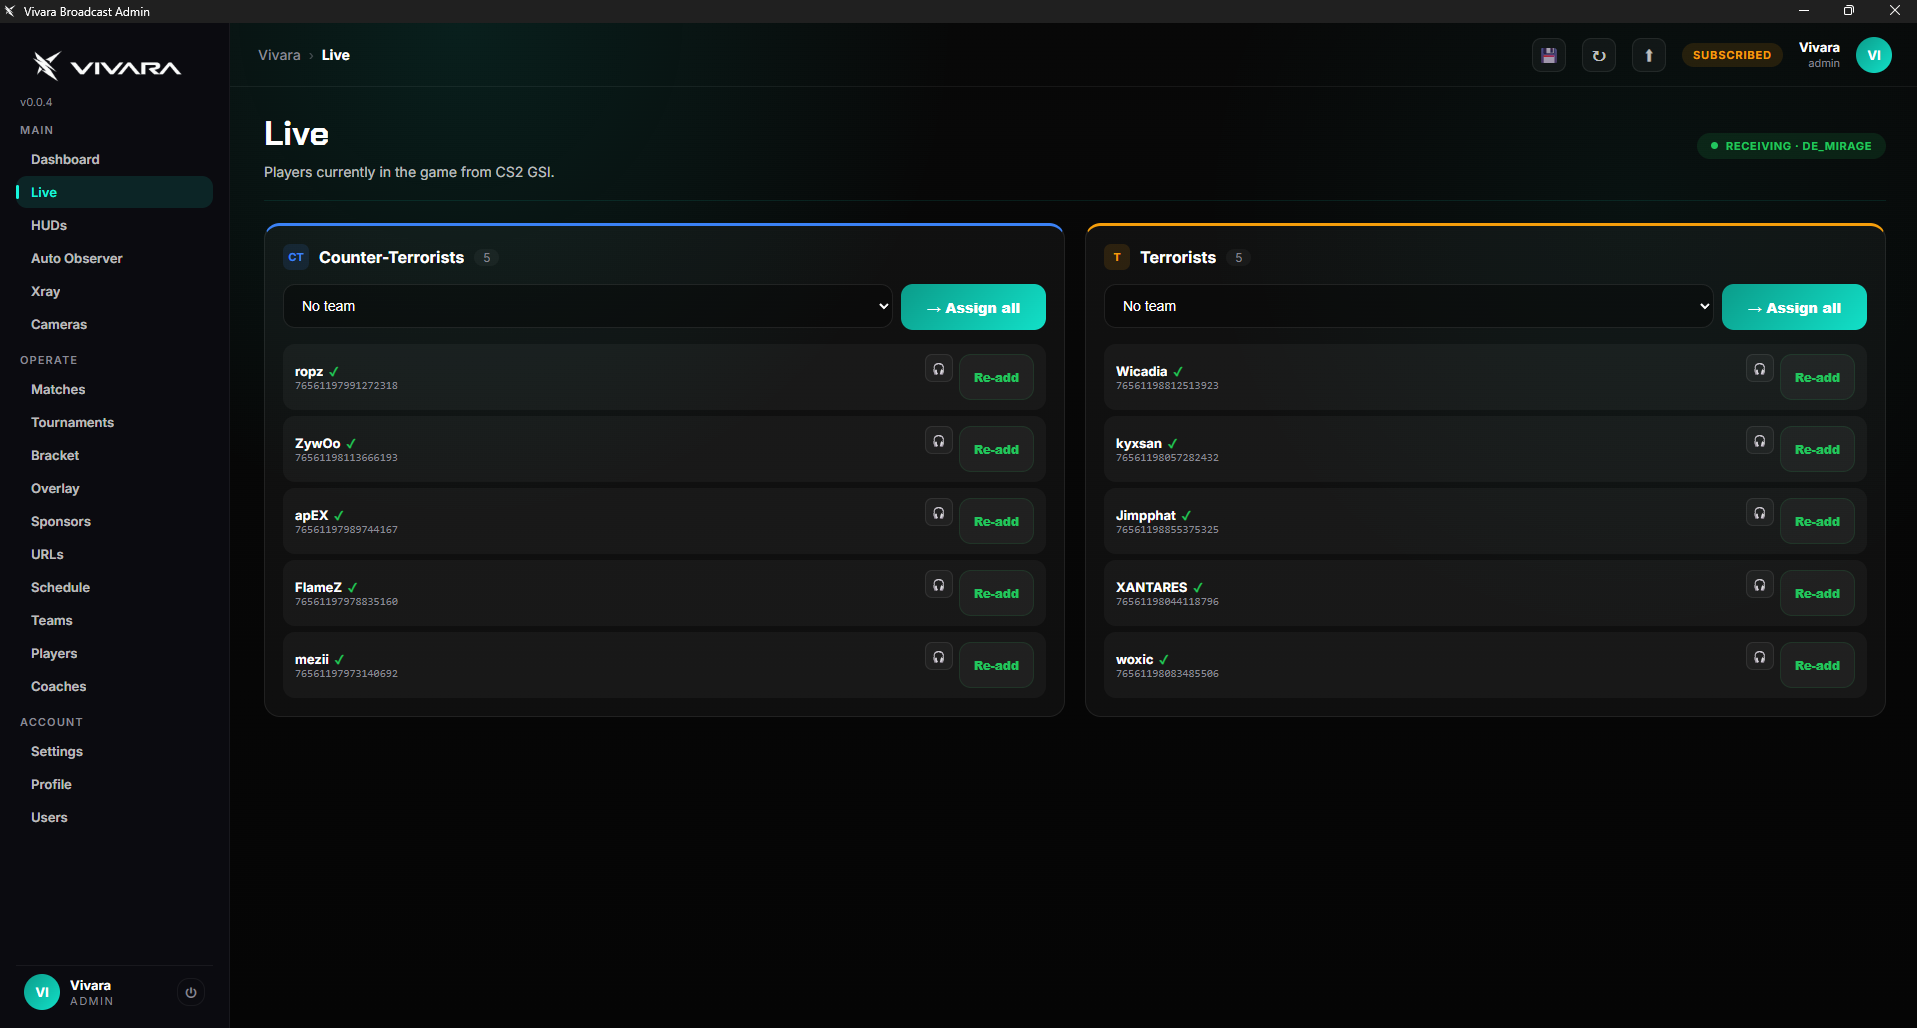
When players join the server, they appear on Live under CT and T. Pick a team for each side and click Assign all — names, photos and logos then follow the right team.
Optional: Auto Observer
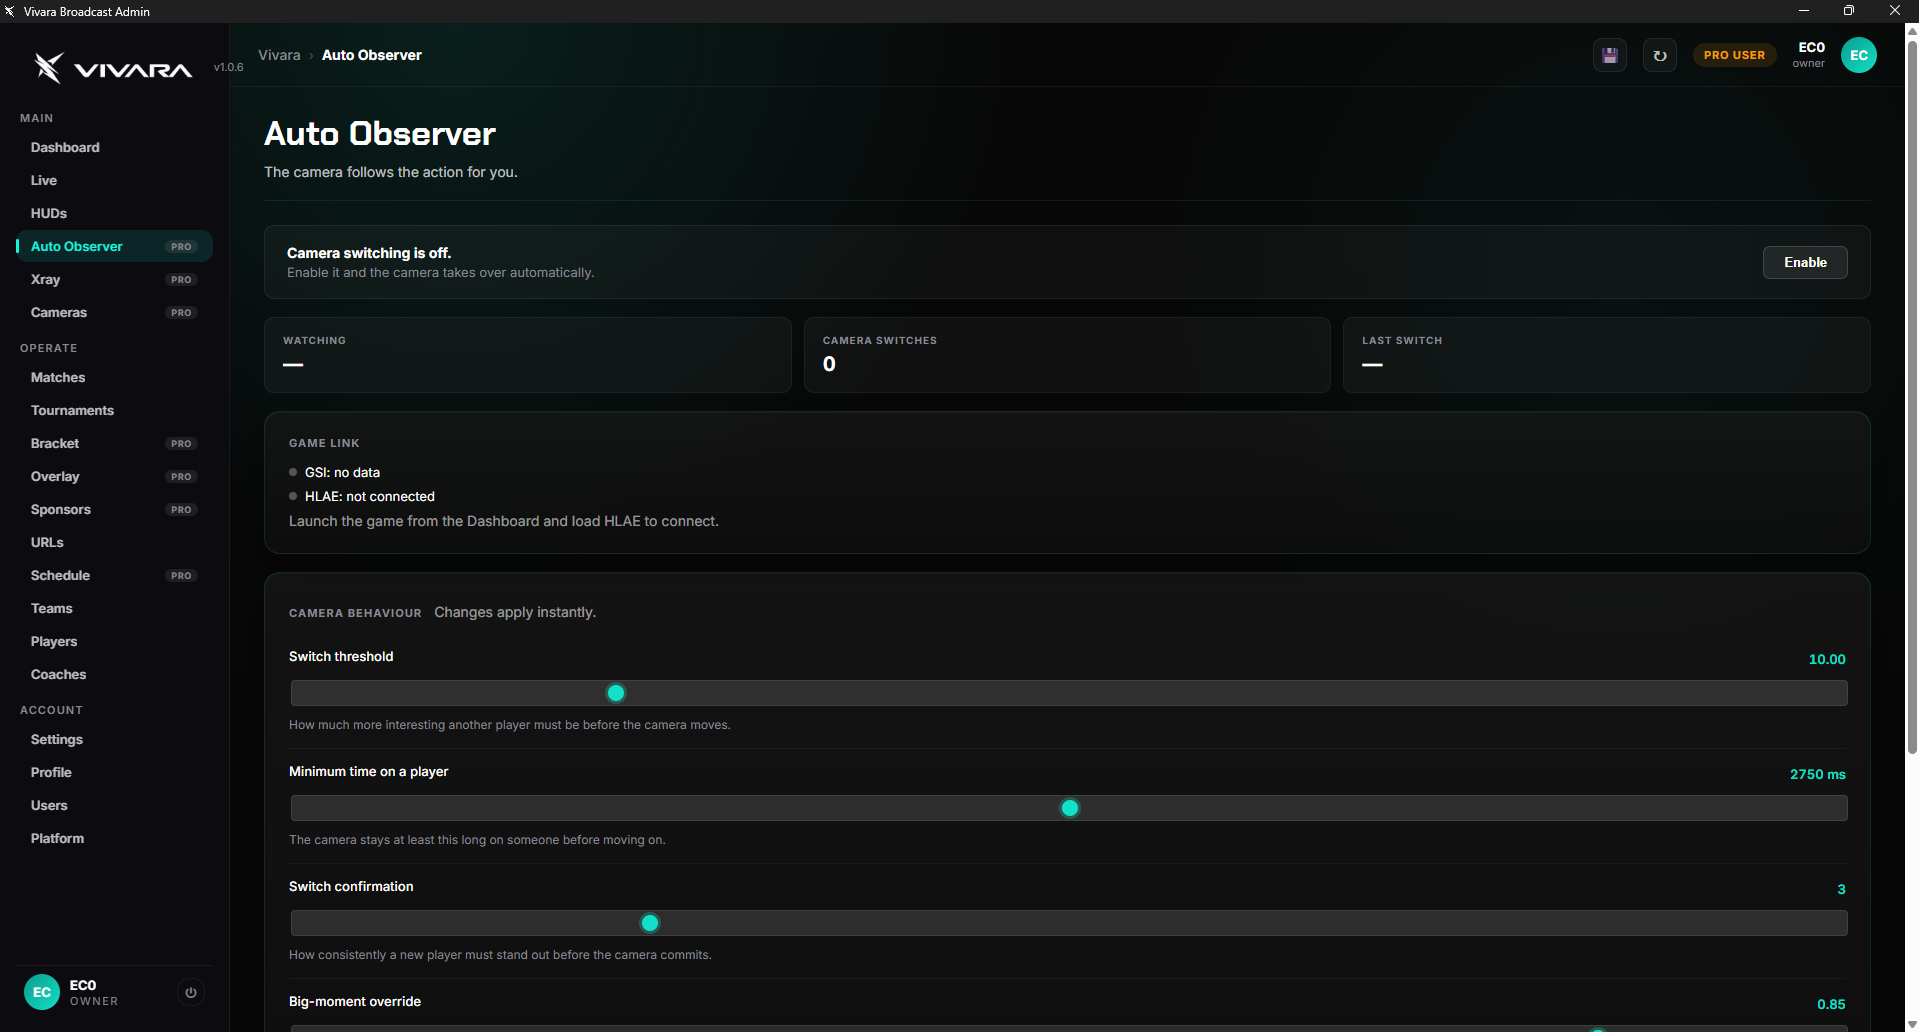
Enable automatic camera switching and tune how eagerly and how often it cuts. You can always take over manually.
Optional: player cameras
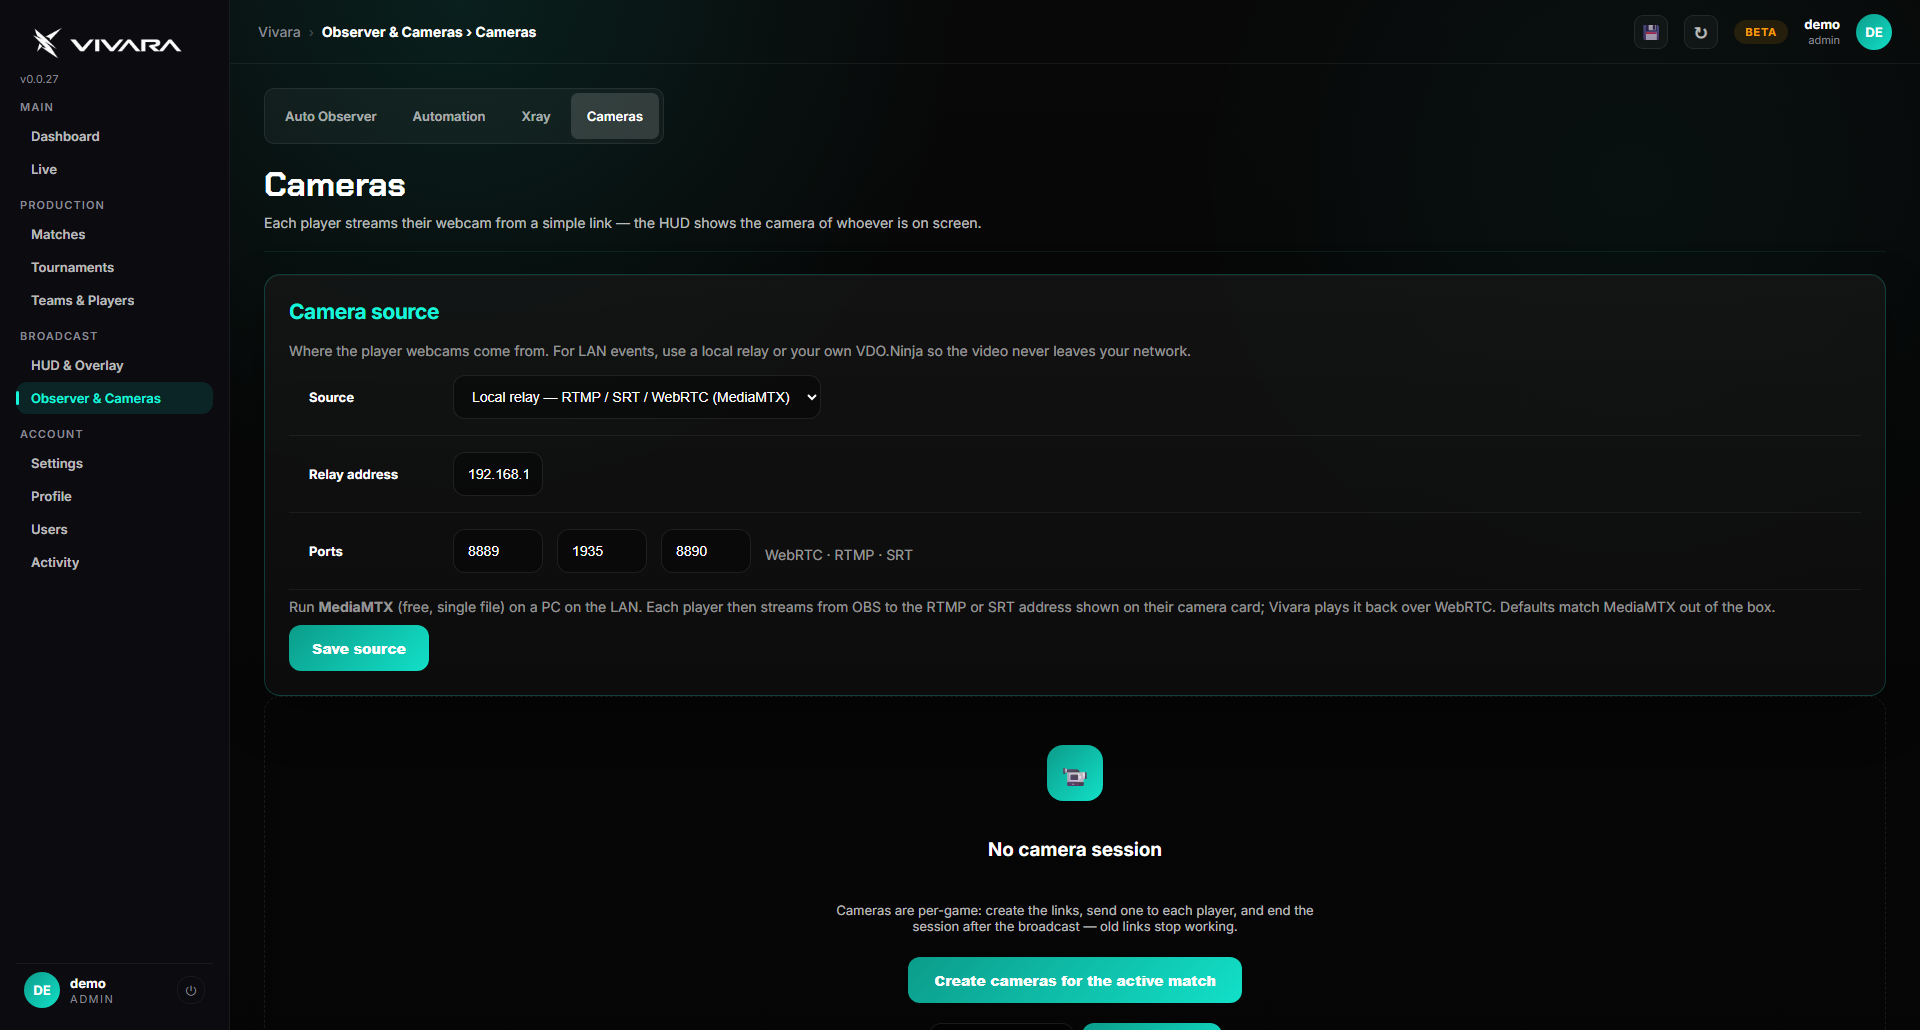
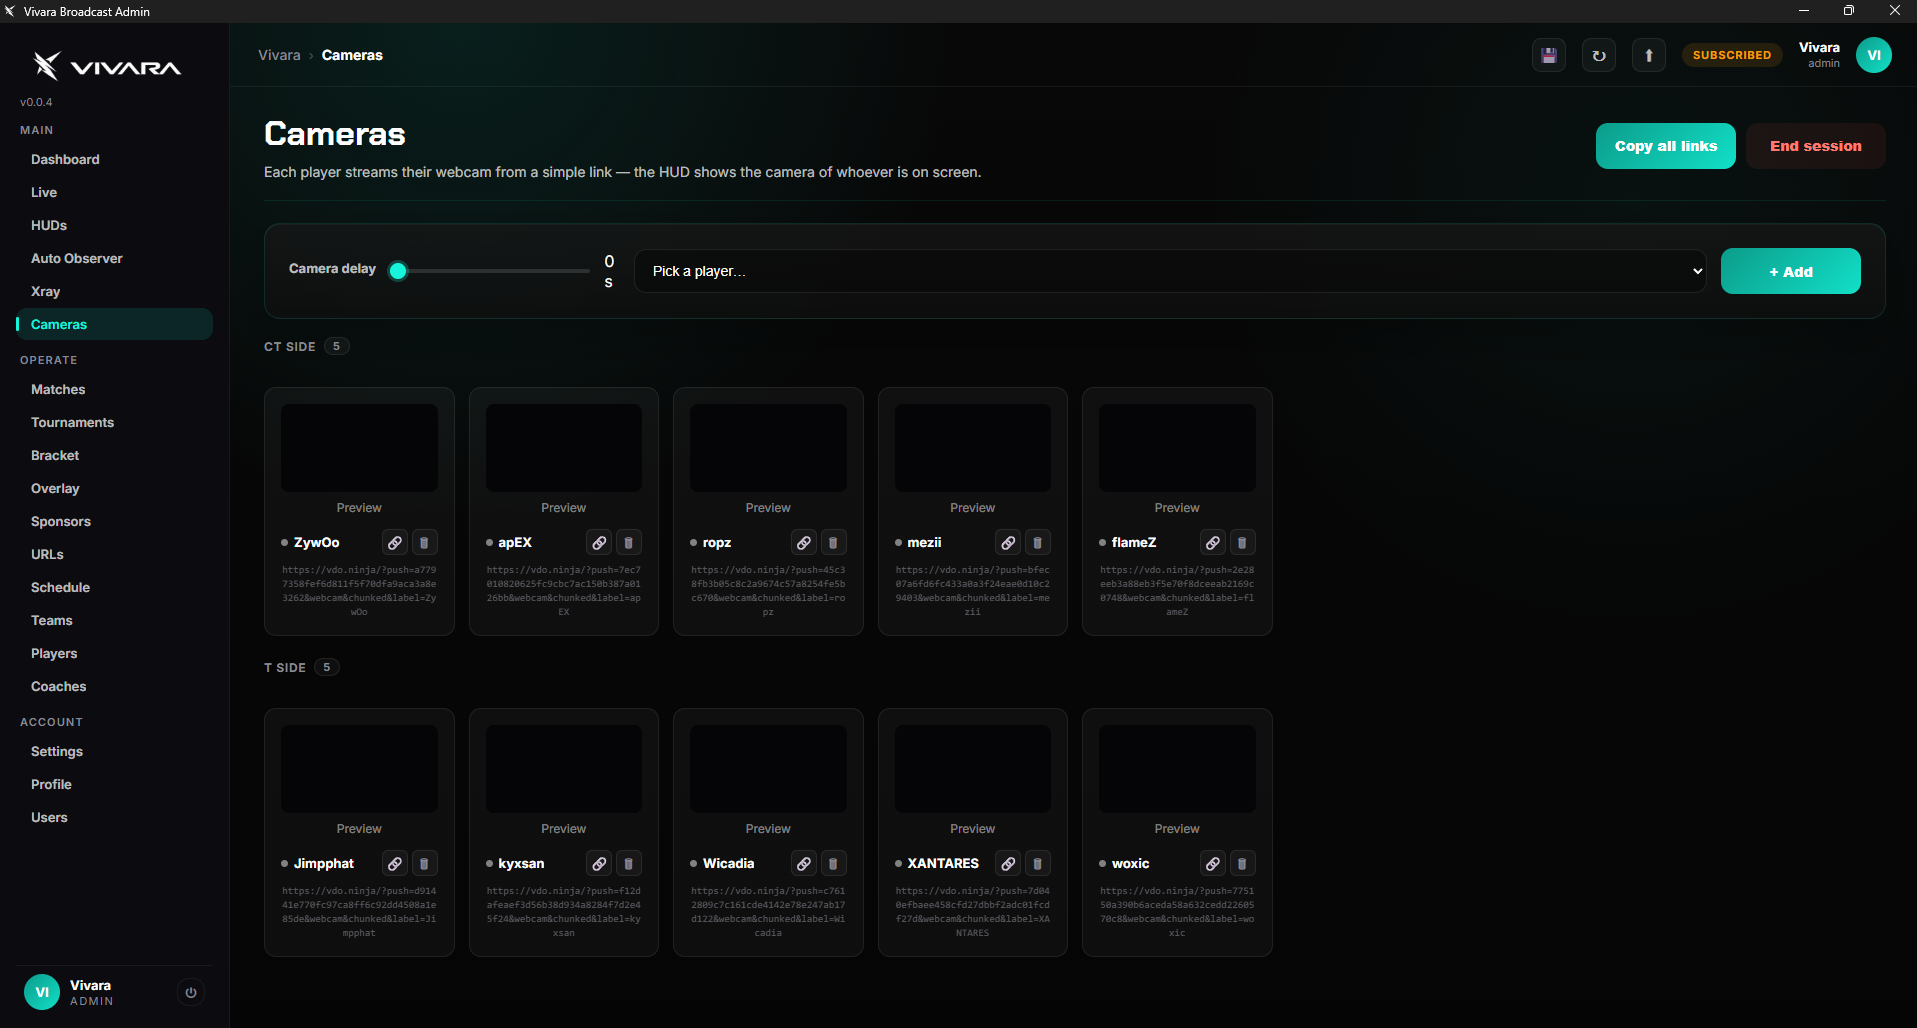
Click Create cameras for the active match, copy the links and send each player theirs privately. When a player is observed, their webcam replaces the photo in the HUD's player card. Adjust the delay to match your game feed and end the session when the broadcast is over.
Brackets, sponsors and schedule
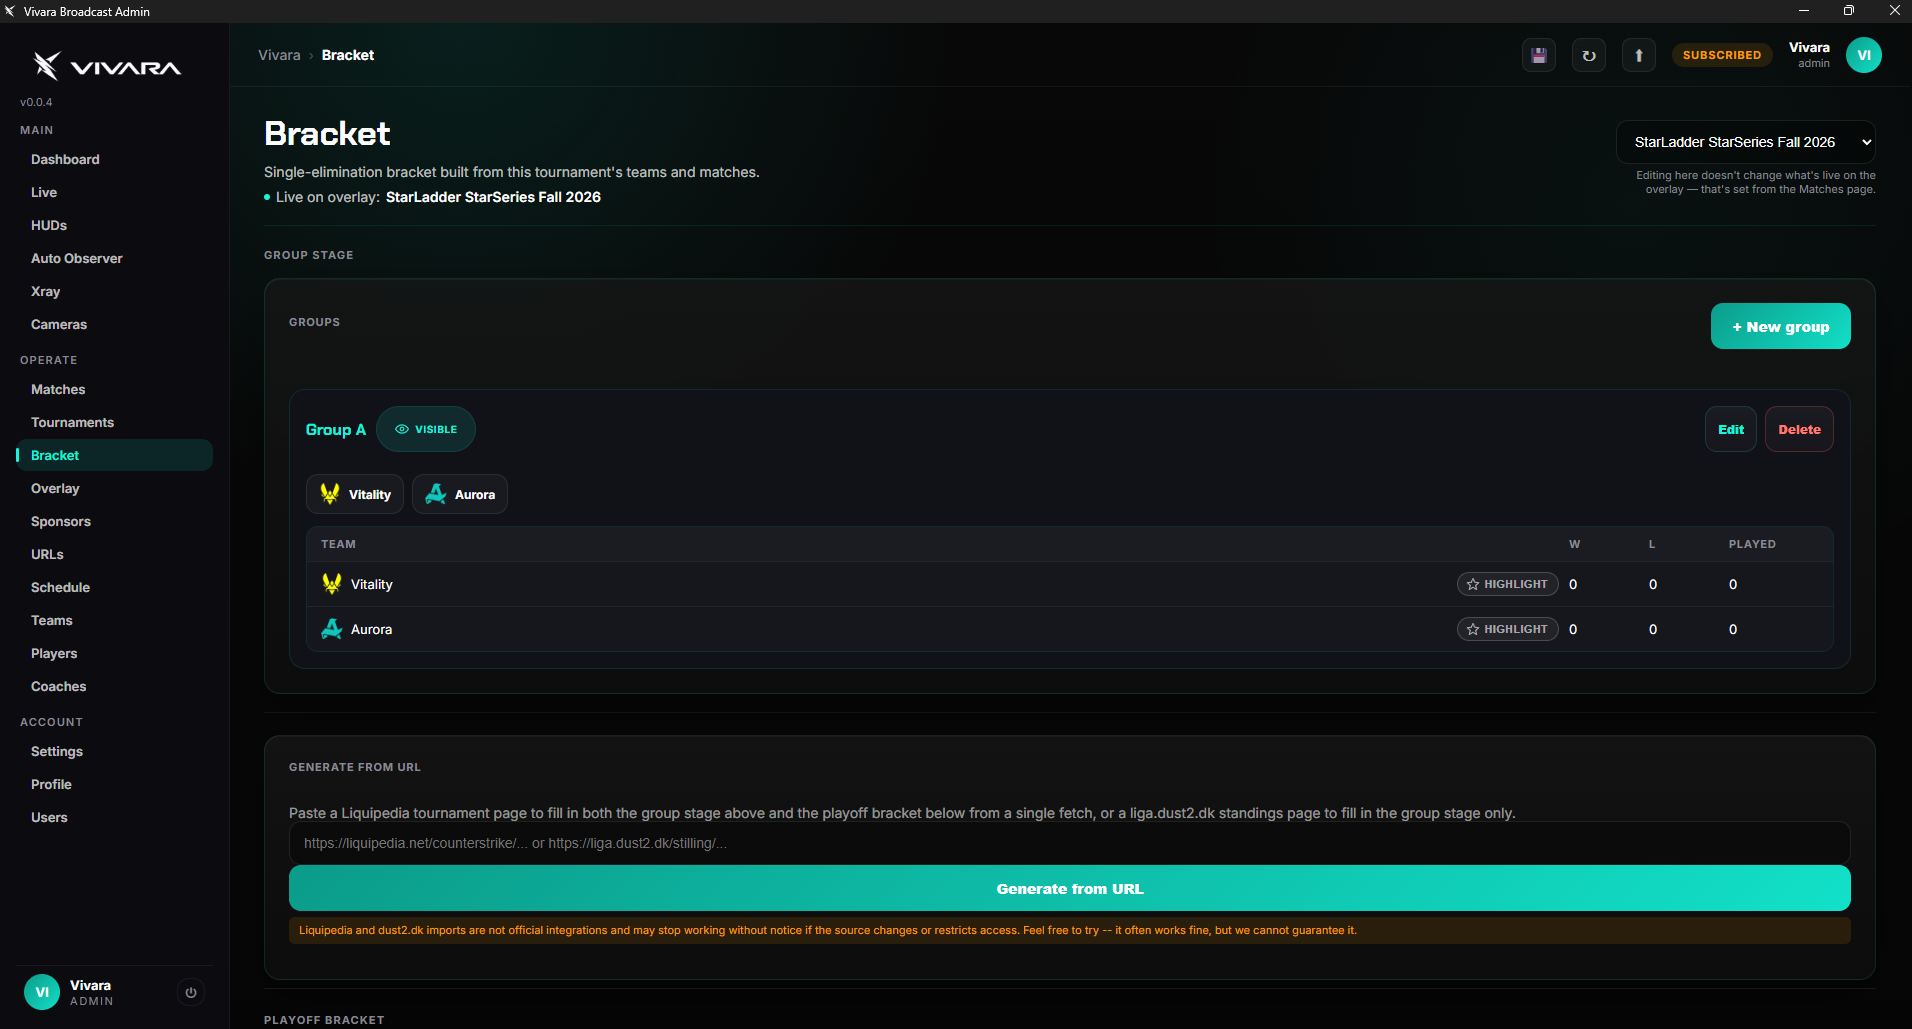
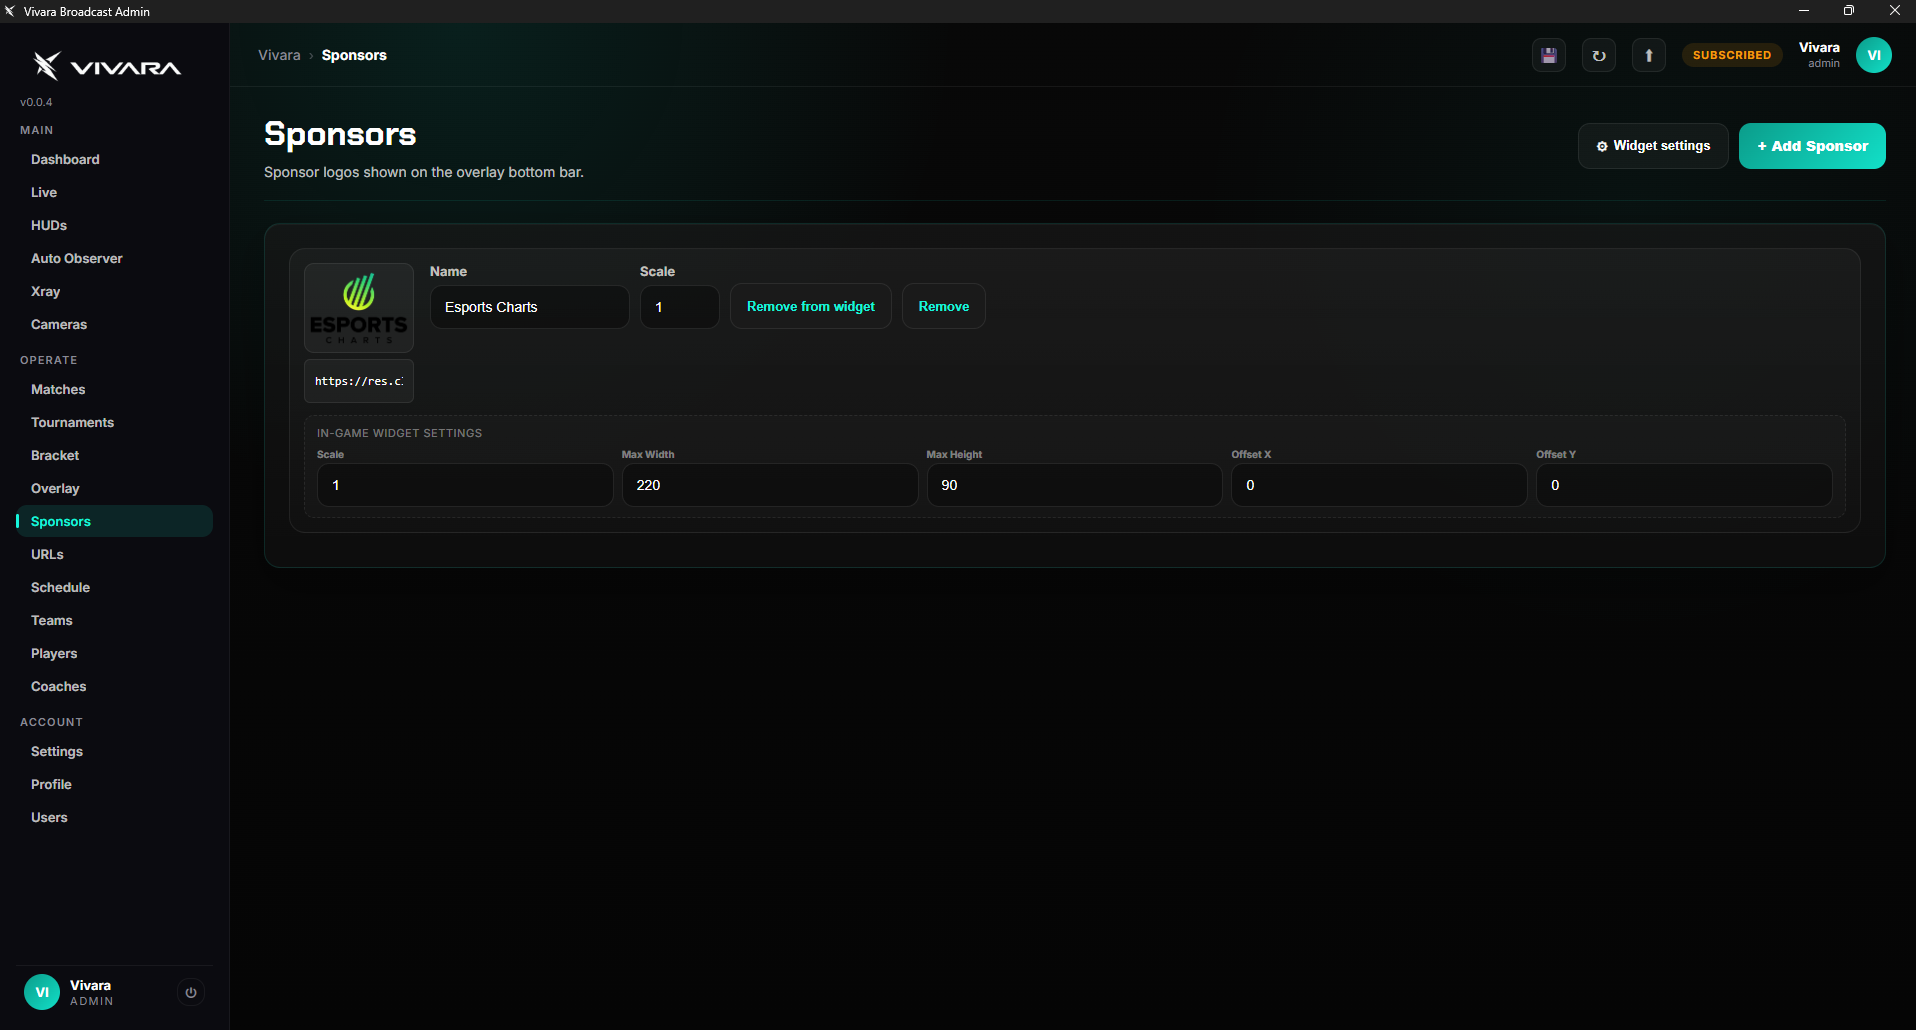
Build a group stage and bracket by hand, or paste a Liquipedia or liga.dust2.dk page to generate them. Add sponsor logos and choose which ones rotate in the in-game partner widget. Add the day's matches under Schedule for the schedule scene.